
The Radius cooler comes in two different form factors, 240 mm/360 mm, with a non-RGB and an RGB-version.
For the non-RGB version, there are two cables coming out of the pump head, a pump cable, and a fan cable:
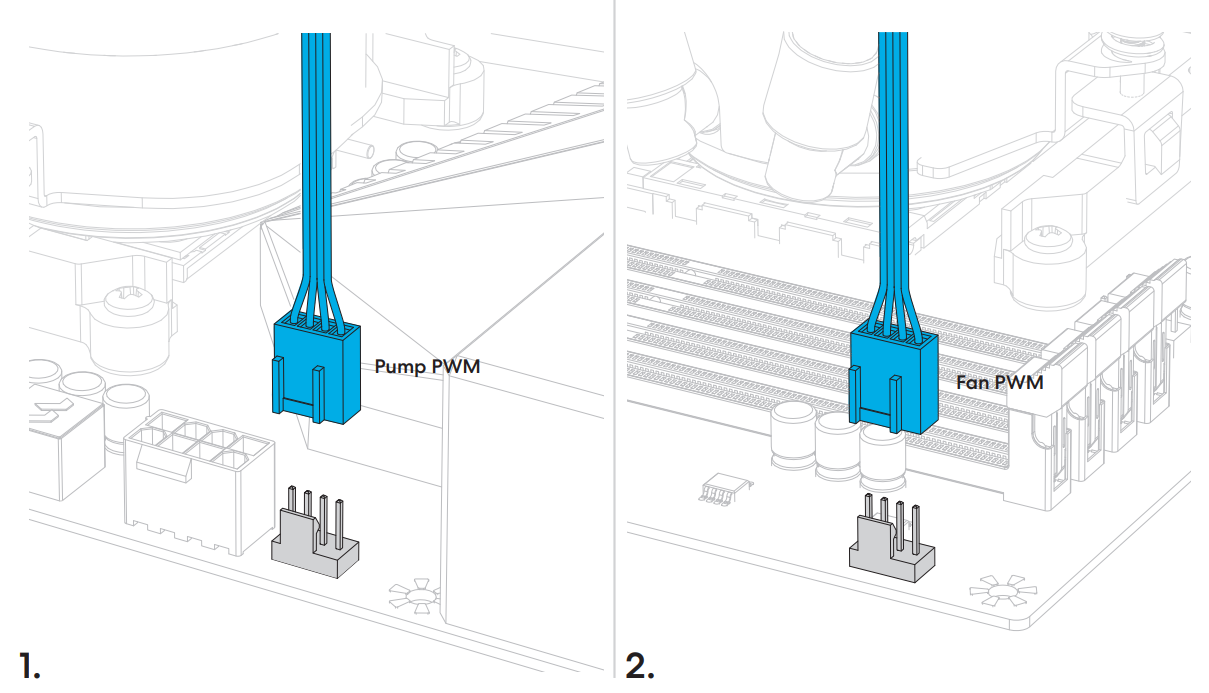
The pump connector should go either to your CPU_FAN header, or an PUMP header. We generally recommend the CPU_FAN header for smoothest start, as some pump headers require additional settings. The fan cable is connected to a free fan header on your motherboard.
Note that all three fans will run at the same speeds, as the cables are chained together.
To control the cooler, enter BIOS/UEFI and change the pump and fan settings to your preferred speeds. Pump has a minimum speed of 80% max speed to make sure this doesn't run too slow and air bubbles move around in the unit.
For the RGB-version ,there are three cables. One SATA-cable, one USB 2.0-cable, and one PUMP PWM-cable:
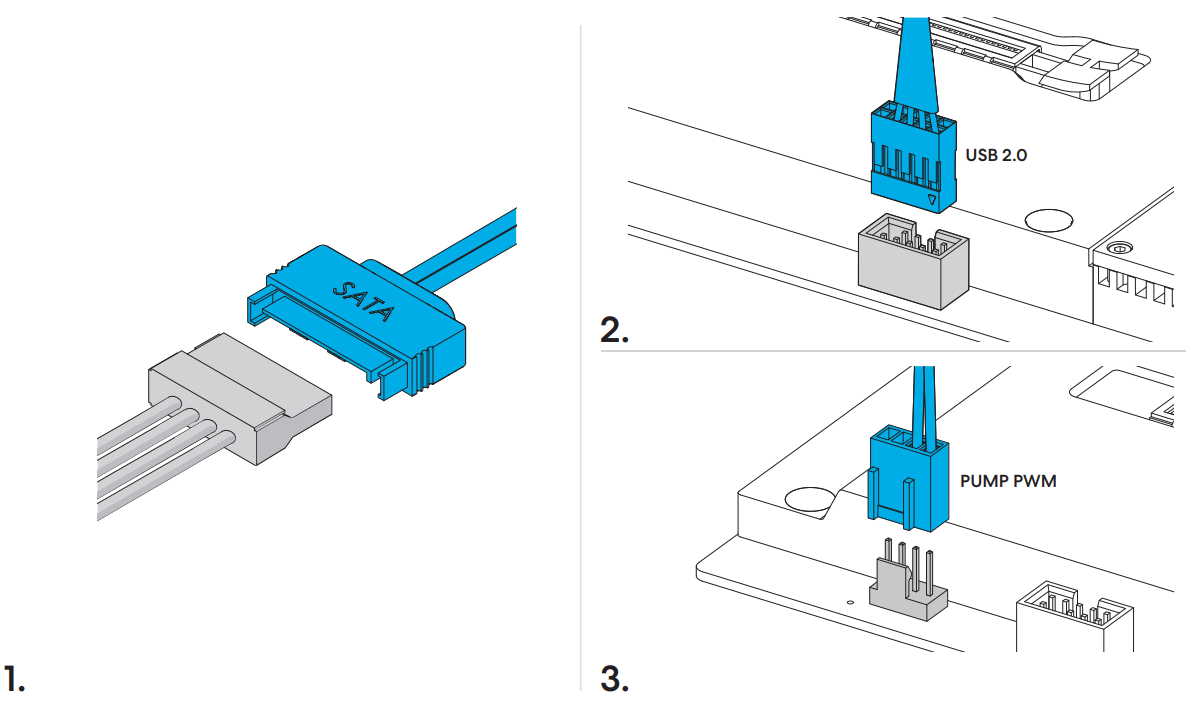
The SATA-cable is connected to a free SATA-slot from your power supply. The USB 2.0-cable is connected to a free USB 2.0-slot on your motherboard, and the PUMP PWM is connected to preferably the CPU_FAN header on your motherboard.
The reason for the SATA and USB 2.0 cable is to allow you to make settings to the unit on our web application adjust.fractal-design.com
Note that control on the website only works with a Chromium-based browser. The reason for this is that the system require Web-HID to control the units. Also note that if you're using a Linux-based system, you need to follow this guide to make it work in the browser.
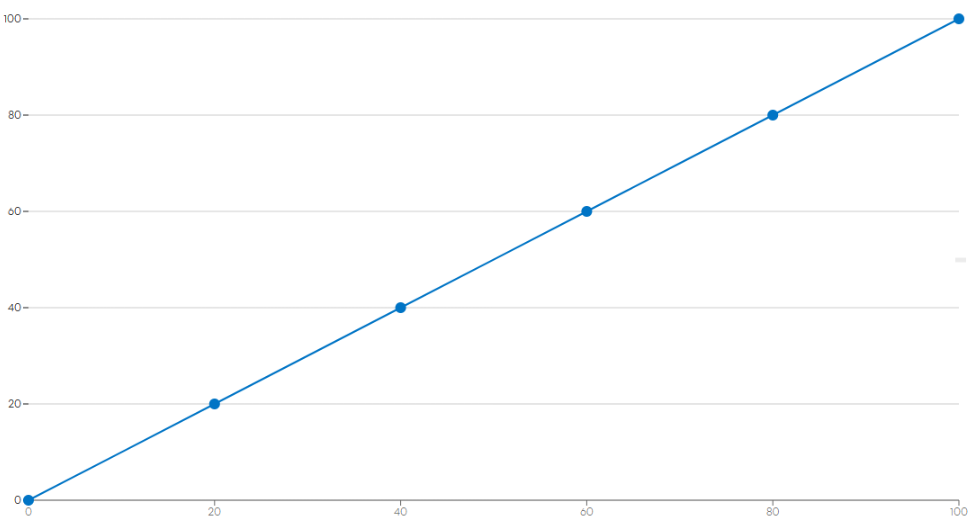
Before entering this website to make changes, make sure to configure your motherboard to output a linear PWM curve based on CPU temperature to the fan header that the Adjust Pro Hub is connected to by entering BIOS/UEFI and finding the cooling-section. with linear, we mean a curve like below:
After entering the web application, you will be greeted by an empty page like this:
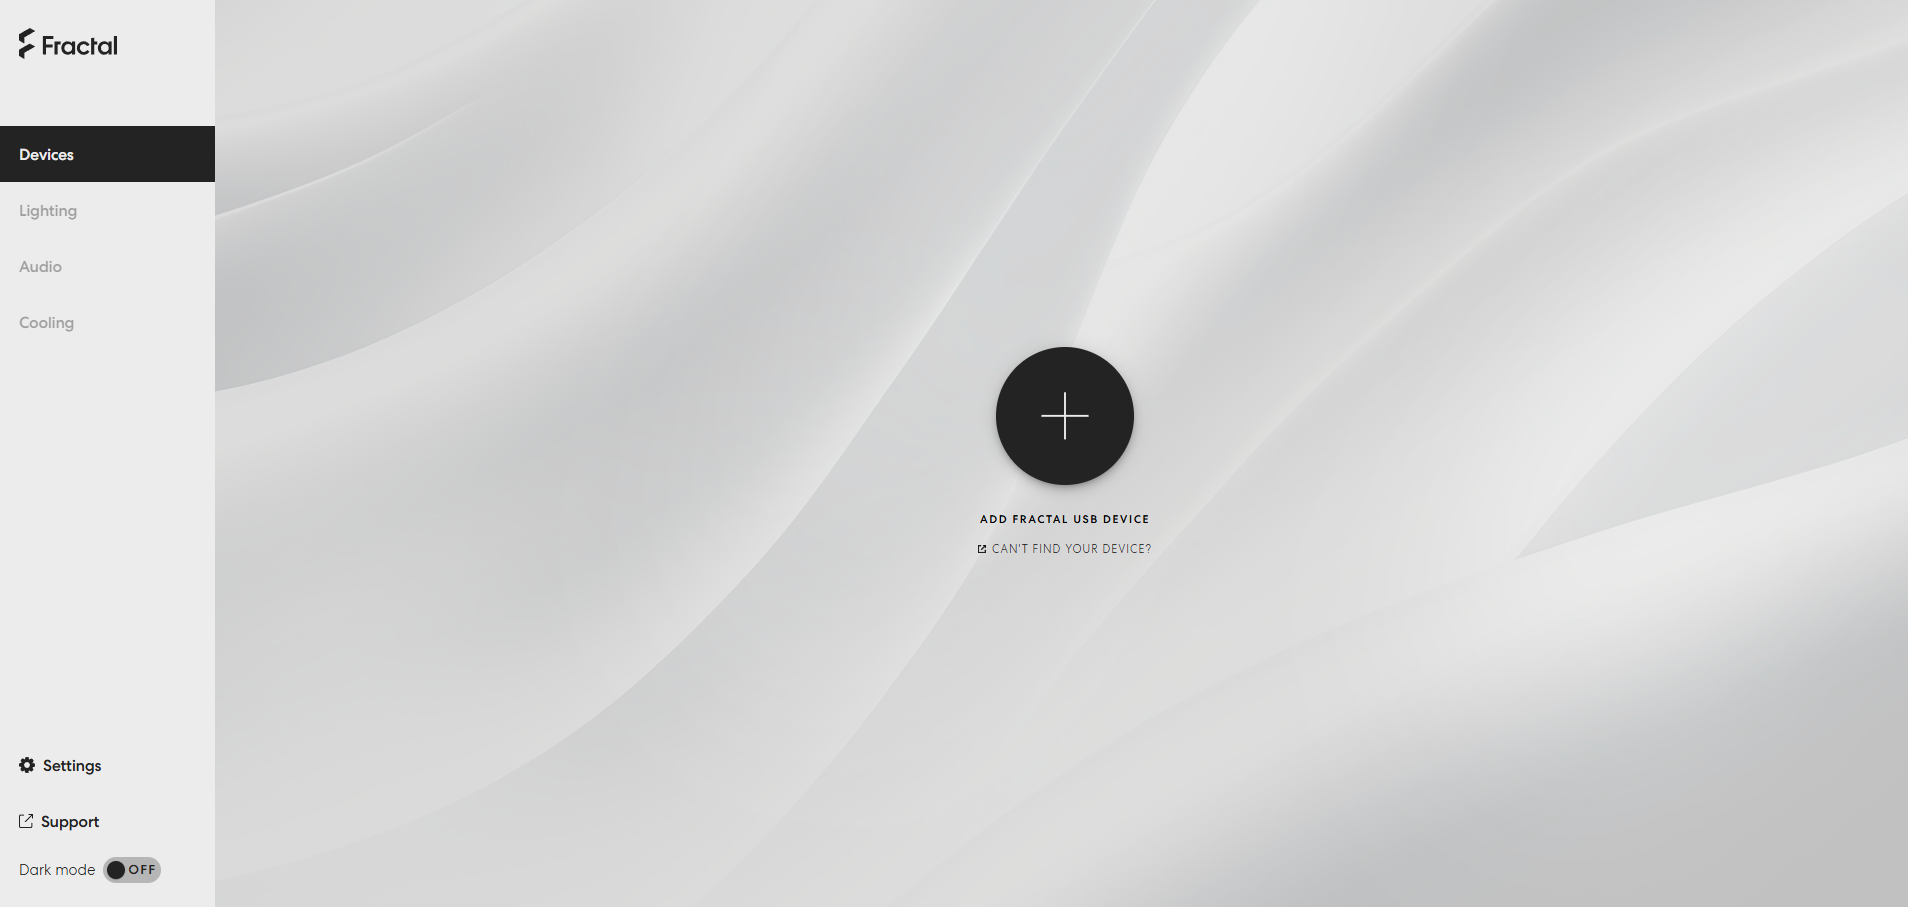
When pressing the +-icon in the middle, you should get a pop-up displaying compatible units (if the pop-up doesn't pop up, make sure your browser allows pop-ups):
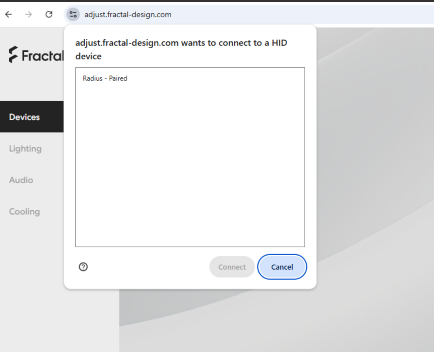
(If nothing shows up, try unplugging/re-plugging the USB 2.0 connector to the motherboard)
Choose the Radius, and press "Connect", and it will show up:
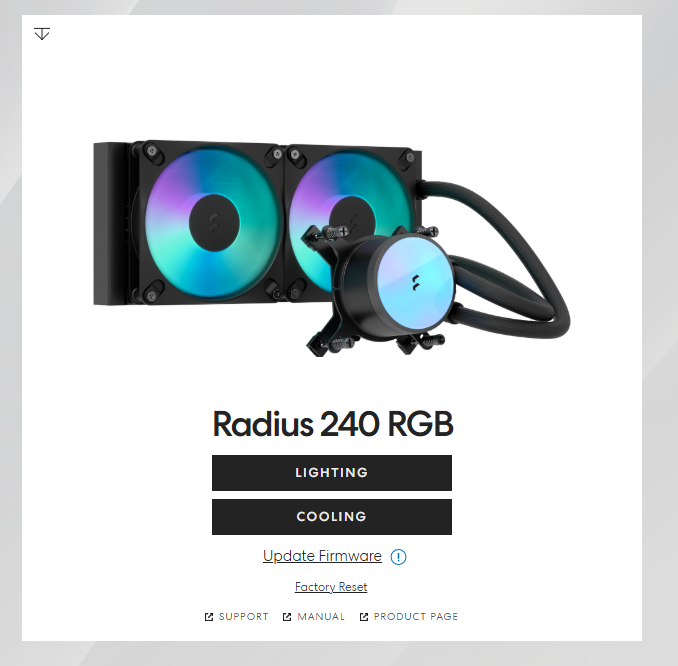
First thing we recommend doing is updating the firmware, as seen in the Radius product card:
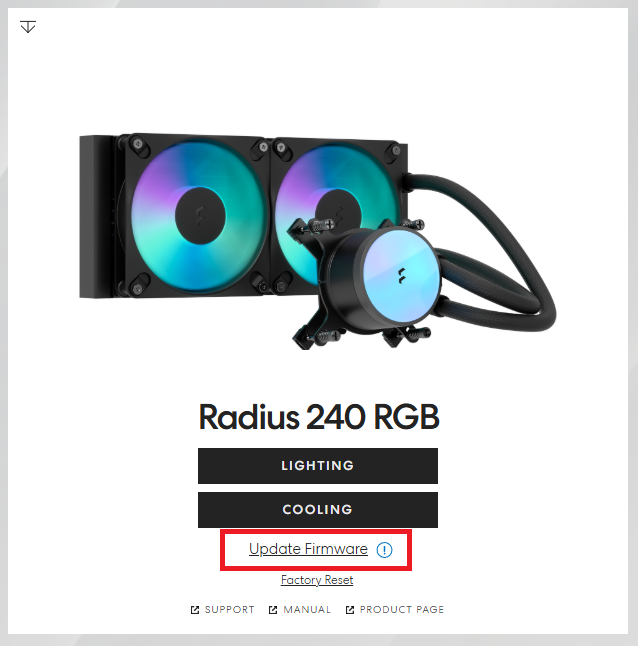
Doing this can take a few minutes. The unit will restart once finished.
Afterwards, once re-paired, you can enter the cooling or lighting tab in the web application: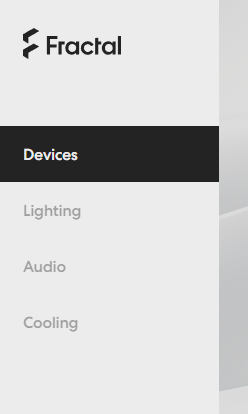
By pressing cooling, you'll find the option to set a fan curve for the cooler and the pump:
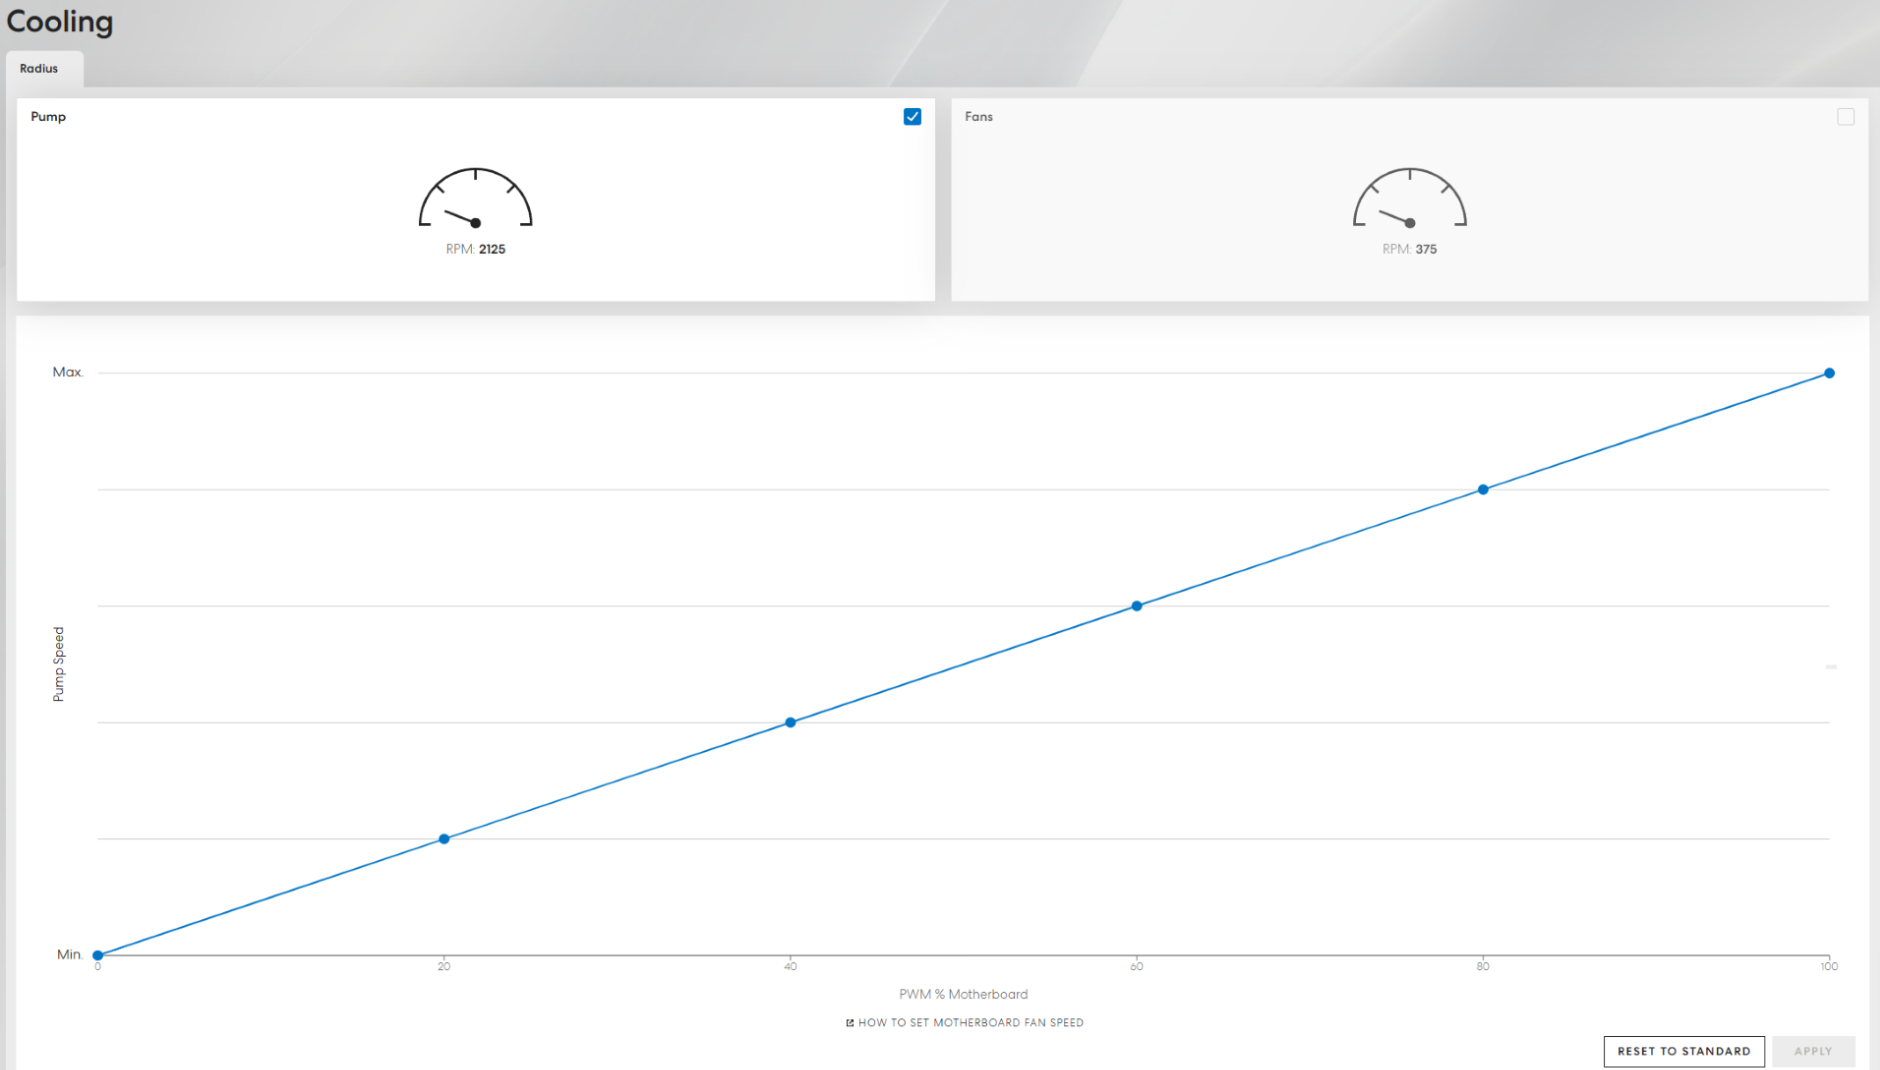
Note that the pump will run at high speeds at all times to keep optimal performance. For the fans, press the square next to it and set whatever fan curve works best for your build.
In the lighting-tab, you'll see the below:
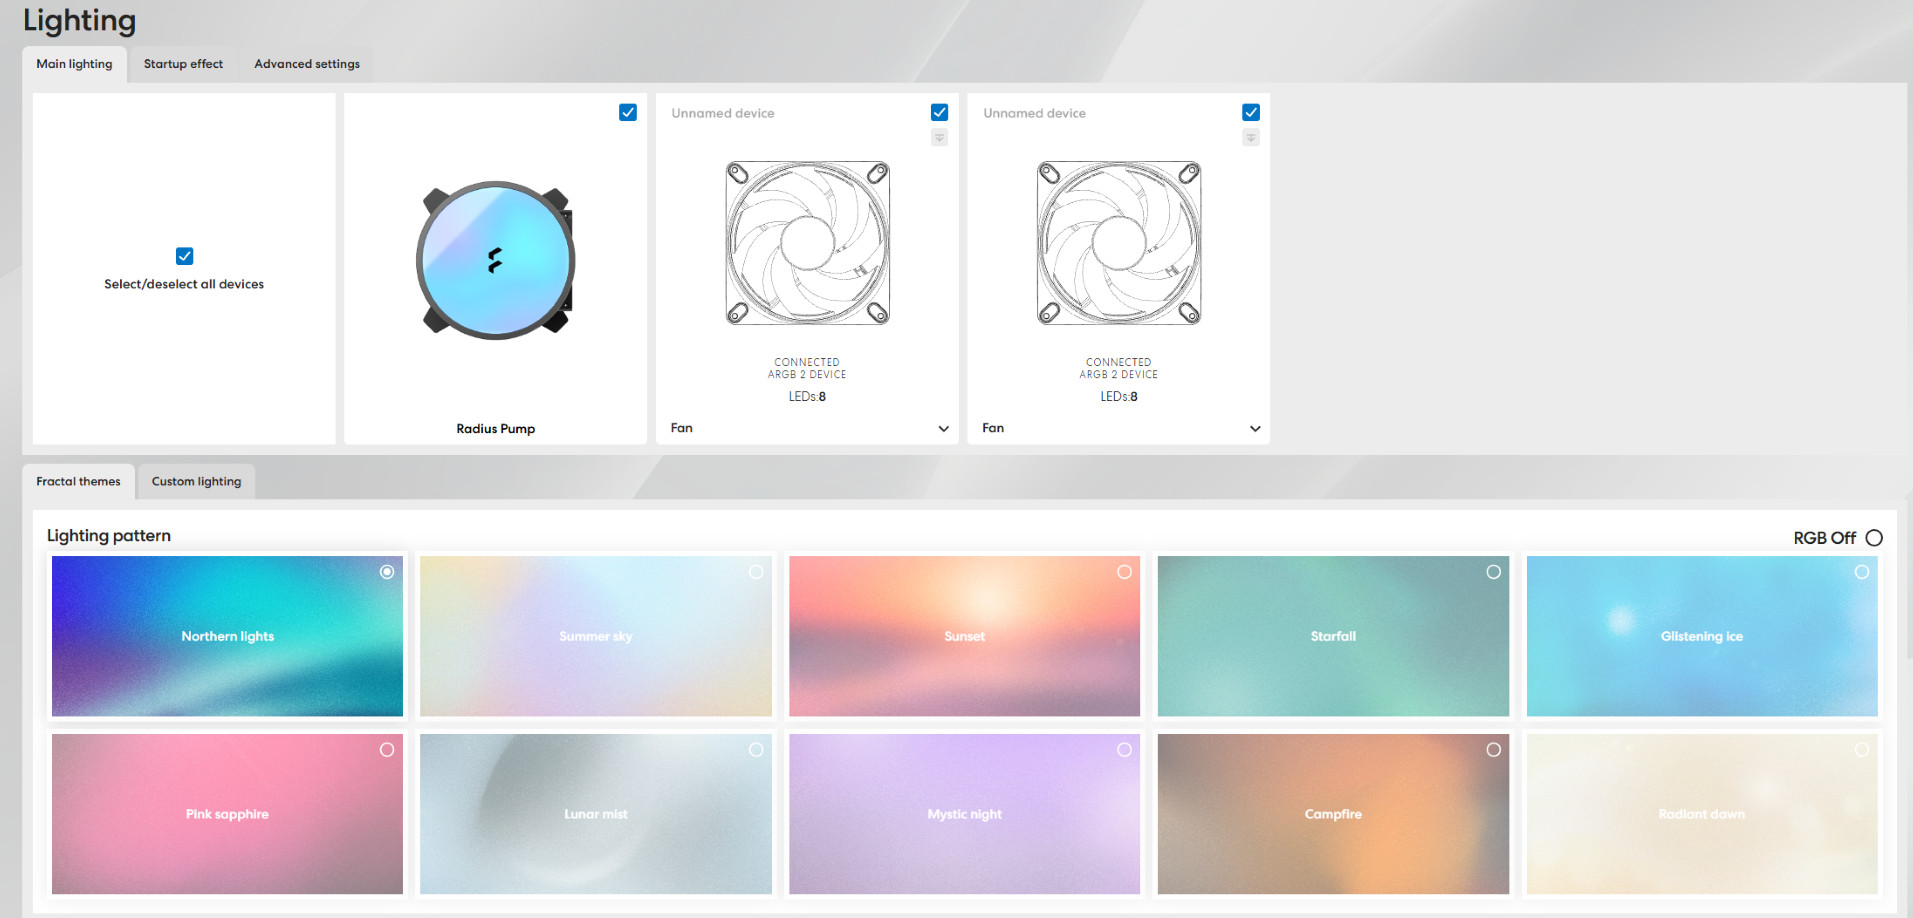
Here, you are able to set the color settings you want for the cooler and fans separately. You can also, with the tabs in the top, choose "startup effect" to change the colors and mode the cooler lights up with when starting your PC.
It is also possible to hoover your mouse over the three units to see these light up separately inside the PC, and by doing that, name them to get easier control in the future:
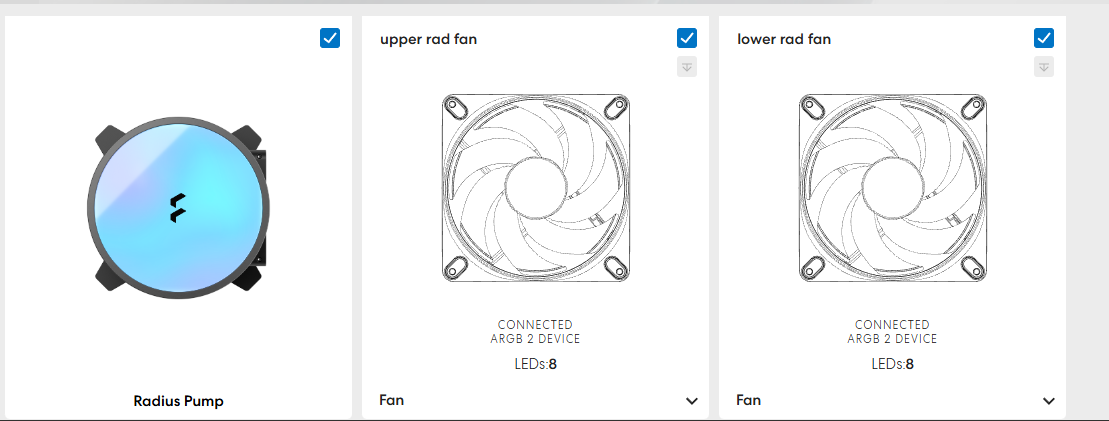
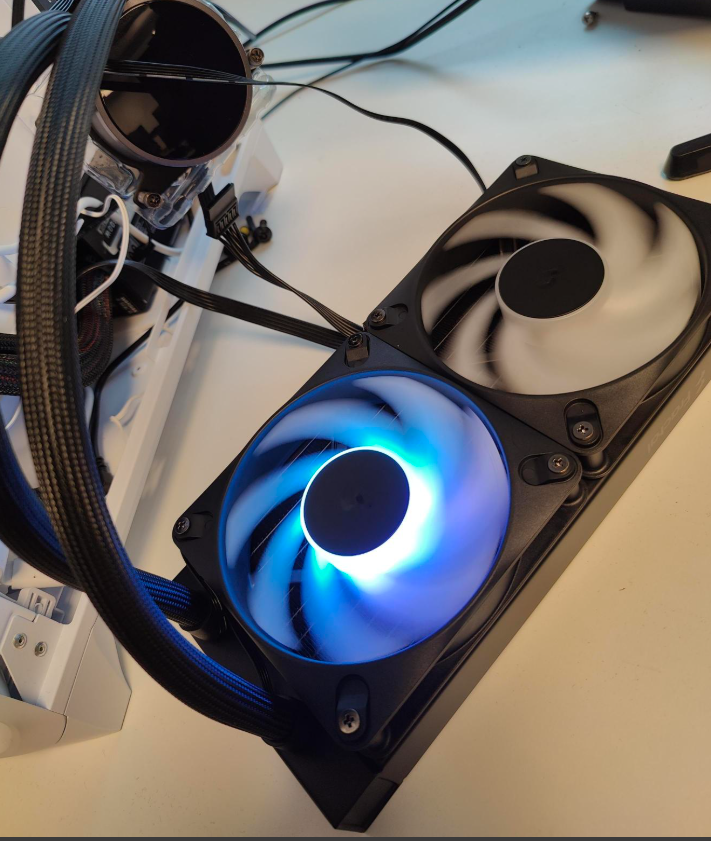
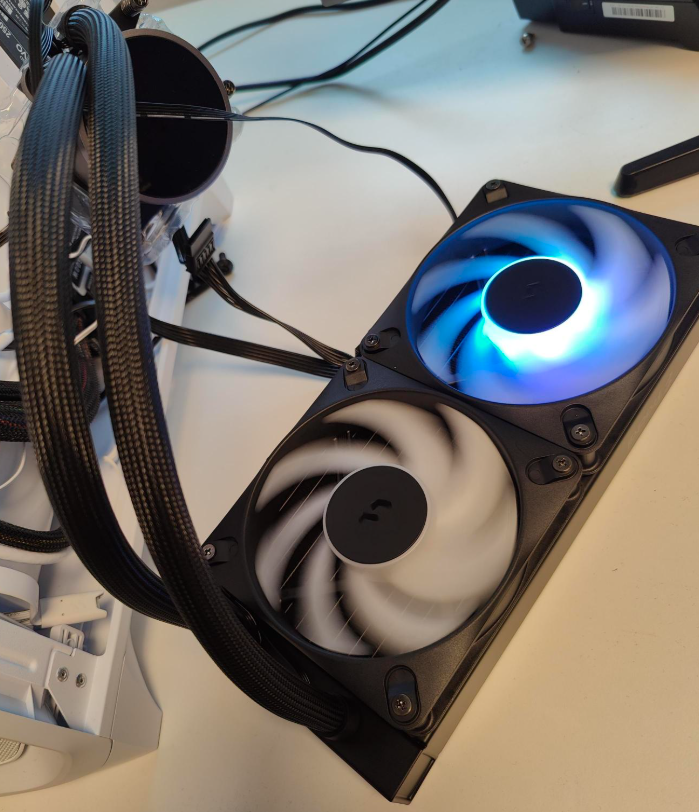
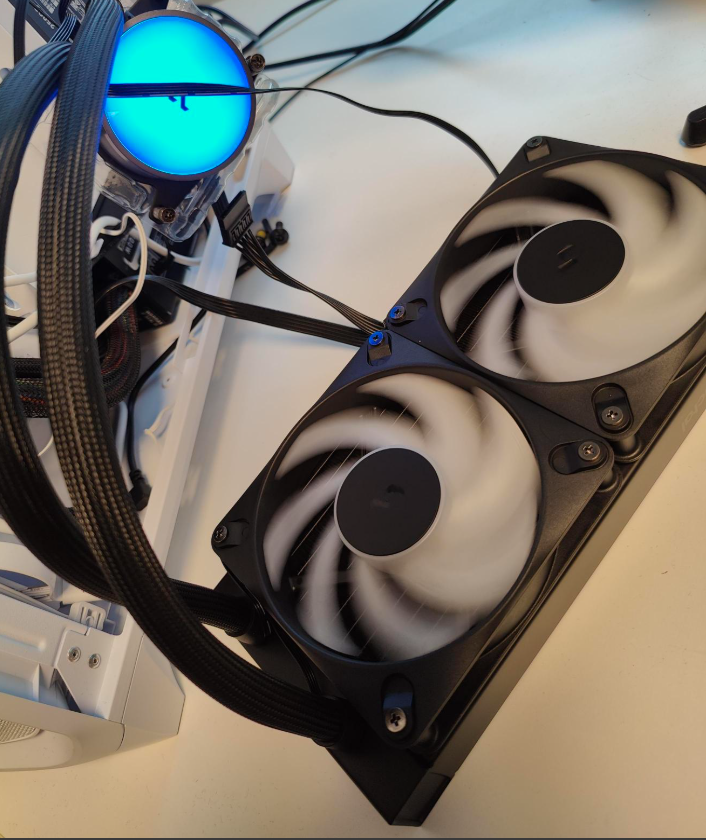
If you are interested in the color schemes, feel free to check out this page or for more information on the web application and the specific pages, visit this page.